Sketchbook Circle 2021: Busy Hands
This year I have decided to take part in Sketchbook Circle. It was a big decision for me to take part as I have a lot on my plate with teaching, running this website and family commitments. But aren’t we all busy? Isn’t it a good idea to take some time to do a little bit of art for myself? I decided ‘Yes’ and so far, I’m really pleased I did.
So what is Sketchbook Circle?
Sketchbook Circle, as the name suggests, is a sketchbook exchange group set up by artist-educators. They say on their website:
“Each January a circle is established and then every artist makes work in a book of their choice (although it needs to fit through the letterbox.) They post their books to the person next to them in the circle by the end of January. Then every artist makes work in response to the work they have received and posts the book back to where it came from. This means that there are two in-depth artistic conversations occurring over the course of a year (it goes back and forth like a pendulum).”
Where do you start?
Being faced with an empty page completely stumped me. When you can suddenly do anything, what do you do? If you haven’t been doing anything creative for yourself, where do you start?
I don’t know where the idea of hands came from. We are exposed to so much stuff on the internet, who knows where we absorb things from! I liked the idea that I didn’t know what my hands would get up to in this sketchbook this year. I love the idea that you respond to what the other person has done in the sketchbook. Where would this lead?
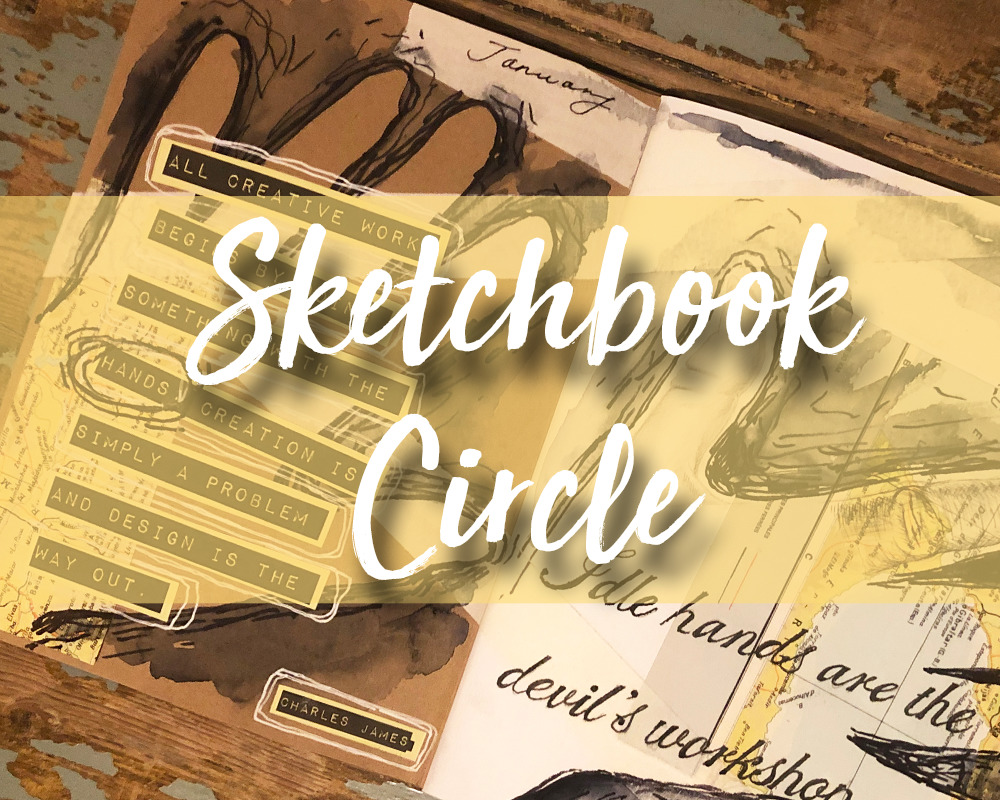
I started by placing my hands on the page. I knew I wanted to include some drawing, so thinking about where my hands were going to go, helped me decide where to add collage. I stuck down map, making the larger piece go off the page, and added masking tape.
Next, I drew around my hands with a sharpie. I built up around this line with more sharpie to create more contrast.
Adding Paynes grey watercolour (#ad) around the edge of the hands provided more contrast. I applied water first, applying the watercolour loosely. I like that it provided more contrast.
Then I added the quote which I typed using the ‘Impact Label’ font, which is free to download. I printed it on yellow paper to go with the yellow in the map. After I stuck it down I went round it in white pen, and circled the word ‘hands’ in more sharpie.
I drew my thumb in pencil and my finger in ballpoint pen. (The pencil drawing of the thumb looks a little pale in this photo) For both, I worked from a photo.
Finally, I added the quote in a script font. I printed this out and used graphite paper to transfer it. Yes, I made life easy for myself!
I will share this with my students. I think it’s helpful to show them the process of how I added and added to this page. It’s also helpful to show how an exciting page can include a small amount of drawing and look good. Time is never our friend in the art room and this is a useful tactic.
If you want to follow Sketchbook Circle on social media, you can find them on Instagram @sketchbookcircle and on Twitter @sketchbkcircle


Thanks so much for sharing this and talking about Sketchbook Circle in your blog. It’s really interesting to read about your process. Georgia
It’s a pleasure to take part 🙂
Hi, so interesting reading this blog about how the sketchbook pages were made. I have started responding tonight.
Hi Yvette, It’s nice to hear from you. I did send you an email to your hotmail address. I hope you got it. I looking forward to seeing your response in the sketchbook 🙂