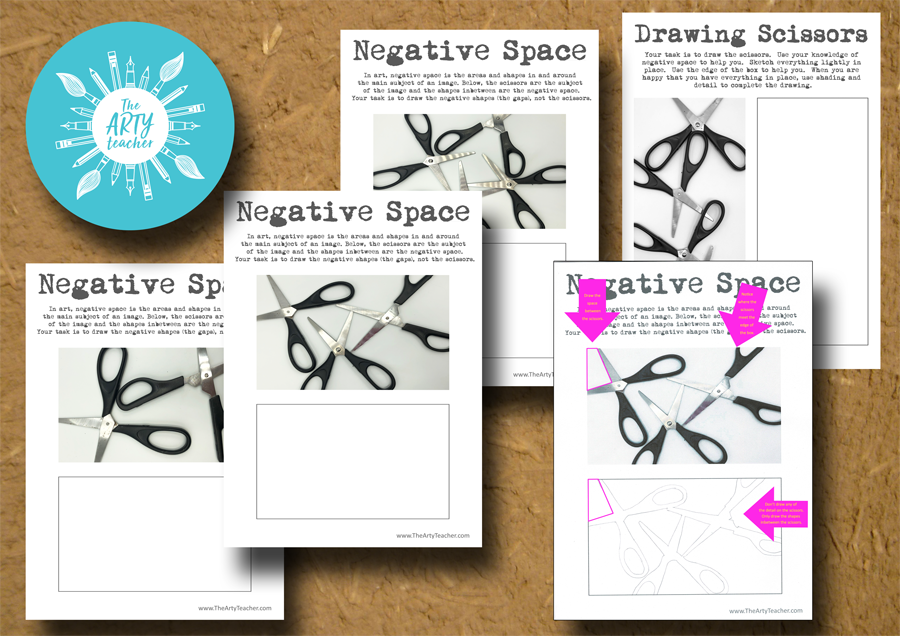
Learning how to teach negative space is an essential skill for an art teacher and these worksheets make this tricky task a little bit easier. Students often struggle with this concept but with the ‘good example’ included in this download really helps. This download includes:
- 3 differentiated ‘Negative Space’ worksheets. One includes two pairs of scissors, the next 3 and the final one 4 which makes the number of negative shapes to draw increase.
- A good example to show students so they can visually see that only the shapes between the scissors has been drawn. Sometimes seeing is believing!
- An optional extension task of drawing the scissors and using their knowledge of negative space to get the scissors in place.
There are 5 pages in this download, all of which are pictured above. It’s an ideal package to teach negative space. There are more negative space resources on The Arty Teacher.
For even better value, purchase a subscription here
Already purchased? Log In
Comments
2 responses to “How to Teach Negative Space – Drawing Scissors”
A great introduction to negative space. The scissors were a great idea to show the difference between negative and positive space to my students.
After completing this activity my students felt more confident to identify the negative space of different scenarios.
Thanks Yvonne, I’m delighted to hear your students can now confidently identify negative space – that’s a win!