
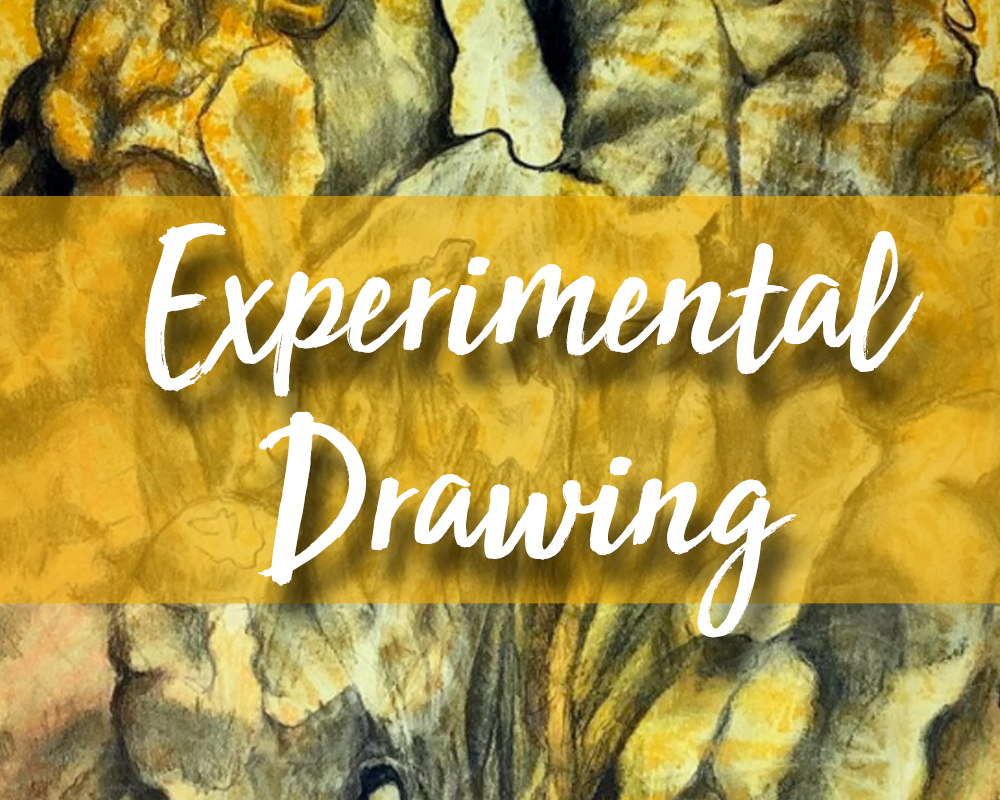
10 Experimental Drawing Processes
For me, this year is going to be all about ‘process’ and this blog post explores 10 experimental drawing processes. What do I mean by that? Rather than concentrating on single media I’m going to think more carefully about creating processes that my students can go through so that they create exciting, experimental work. We can all get into a bit of a rut with our teaching and my rut has been telling students to make sure they worked with pencil, pen, coloured pencil etc, ie single media. It has been more at the development stage of work that they have mixed things up more, but why not introduce this experimentation earlier in the project?
In the UK students aged 15 and above who pursue art at school have to fulfil an assessment objective that includes ‘recording’. This encompasses photography, drawing with all sorts of different media and writing such as annotation. Personally, I get students to do lots of recording before they look at an artist so that they have the freedom to work any way they want (as long as it’s appropriate for the theme they are investigating). Other art teachers may do this in different ways. My students would go on to look at an artist, develop their work further inspired by this artist, then create compositions and a final piece(s).
10 Experimental Drawing Processes for the Art Room
It’s during this recording phase that I want to introduce more exciting, experimental drawing processes. Here are some ideas:
1. Stick down areas of collage before drawing. The artwork below shows collage which has then had white and grey paint added to it and then a charcoal drawing with white and yellow highlights added in paint.
[Collage + paint + charcoal drawing + paint highlights]

2. Place down appropriate pieces of collage for what you are going to draw. This is different from above as the collage is more part of the drawing rather than a background. Paint loosely with coffee, draw with coloured pencil.
[Draw with collage + loose coffee painting + detailed pencil]

3. Stretch paper, glue on tissue paper with PVA, let it dry, peel off loose bits, sandpaper off rough bits with fine sandpaper, draw with a pen. [Stretch paper + Distressed tissue background + Draw with pen] There is a video by artist Ian Murphy which shows this process here.
4. Stick together two pieces of packaging. Use gumstrip and masking tape to stick on the front like collage and then draw.
[Packageing + gumstrip + masking tape + drawing]

5. Ink splat or drip ink on paper, or work wet on wet with ink or watercolour, allow to dry, then draw.
[Ink or watercolour surface + ballpoint pen drawing].

6. Wet watercolour paper or really thick cartridge paper, blot with tissue so damp, draw with Payne’s grey watercolour. I like to give students a tiny blob from tubed watercolour for this task. You can see below how the watercolour bleeds into the damp paper. If the paper is too wet the drawing becomes completely obscured.
[Wet paper + draw with Payne’s grey watercolour and small brush + allow to dry + detail with Payne’s grey watercolour on dry drawing].

You can choose to leave the drawings as above or to paint on more detail like the example below.

The example of a bee below follows the process described above, only white pen has also been added.

7. Stretch paper, wet paper, dab on strong ink or dilute acrylic, lay down cling film (known as seran wrap in the States) which is deliberately creased, allowed to dry and peel off the clingfilm to reveal a beautiful surface. Draw in coloured pencil, pen or charcoal. The example below used dilute acrylic and charcoal.
[Clingfilm/ink surface + Draw]

8. Print with hessian or old net curtain or doilies, (probably in pale colours) allow to dry, draw on top. (Example coming soon).
9. Create a PowerPoint of images appropriate for the class theme. Give each student pieces of cartridge paper, coloured paper, brown paper, old envelopes et cetera. Give students a variety of media e.g. soft pencil, sharpie, charcoal. Use a timer and put the images on screen and give students three minutes, then two minutes, then one minute to draw the images you display on screen. I had to move the desks in my room to do this. I have done this with students aged 15 and each student drew about 15 drawings in a 50 minute lesson and chose their best 3 to go in their sketchbook. You could ask students to do contour drawings and blind contour drawings.

10. Create a digital line drawing. Create different surfaces (printed, splashed, coffee, collage) print line drawing onto surfaces. Work with different media into prints. E.g. watercolour, Quink ink, stippling.
The example below shows three digital line drawings that have been arranged in a composition. They have then been printed onto a collage of book paper and coffee-stained paper.

I have tried all these processes above before but I just want to make sure I build in more exciting work like this to my planning. It’s part of my desire to be a ‘reflective practitioner’ and continually improve the way I teach.
Of course, there is still a place for using single media. Nothing beats a well-executed pencil drawing on a clean white page. My planning this year includes a pencil drawing and stippled drawing in pen for homework. As long as I show my students good examples that highlight my high expectations it should be alright for students to complete these tasks at home.

If you have any experimental drawing processes that you guide students through please comment below as I would love to hear about them.


If you’ve enjoyed this article about ‘10 experimental drawing processes’ why not register on my website by clicking the link below. If you’re an art teacher, you’ll be able to download 3 of my free teaching resources every month too.


I love to create and use hand made, unique drawing tools with my students. They collect a variety of materials such as q-tips, plastic netting, natural sticks, cardboard cut and frayed, and other materials that can be attached on the end of a wood tongue depressor to create a homemade tool for mark making. Using these tools and ink they can create stunning animal, landscape, and/or still life drawings. The experimental process is challenging and exciting!
Love your blog!
This sounds like a great mark making lesson. It’s so engaging if they have to find their own tools. Thanks for your comment.