
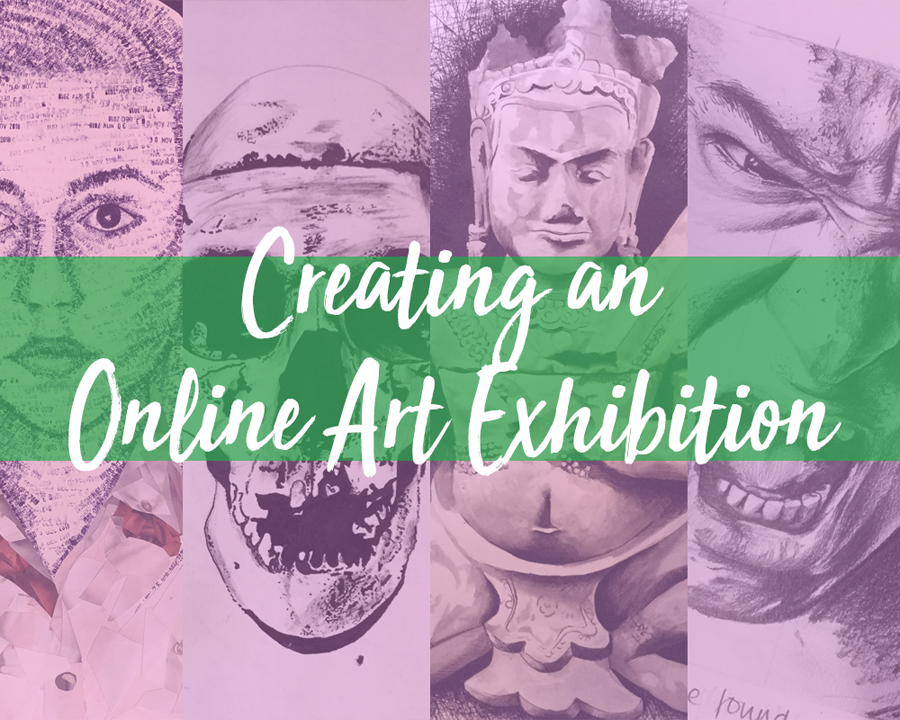
How to Create an Online Exhibition Using Google Sites
I’ve seen lots of interest online in creating online exhibitions to celebrate our student’s work. I am so sad that my students won’t get to have an actual exhibition at school which is always such a joyous celebration. An online art exhibition is the next best thing. At my school, we are using Google Sites and I’m pleased to say it’s a super-easy way to create a quick website to showcase your student’s work. It’s free and you can either use the URL that’s part of google sites or upload it to a URL your school provides so it’s part of your school website.
If you want it to be part of your school website, you need to ask your school for a URL. Your school URL will look something like this: https://yourschoolname/page
To create the site you need to photograph your student’s work and save it all to a folder on your computer. I’m sure you’ll want to edit them and improve the brightness and contrast if necessary. Once you’ve done that you’re ready to start making a Google Site.
Here’s how to create a Google Site.
Go to Google Sites.
You come to a page that looks like this. Click on the plus symbol that the arrow is pointing at.

Next, you’ll come to a page that looks like this.

You can click on the words ‘Your page Title’ and change it to your school name, or your art department name. You can also see the words ‘Change Image’ below. Click that to upload an image to show behind your school name.

Next, you can click on any of the rectangles below the word ‘Layouts’ to choose the first block that will appear below your school name. Don’t be frightened to click on these to see what they look like as they are easy to delete by clicking the little bin symbol to the left of them.

Click on the plus symbol in each box to add a picture of your student’s artwork.

If you are going to add a layout for each student or class, you may want to add their name. Click on ‘Text box’. A text box will appear below the box you have just been editing, but you can drag it into place.

You can carry on adding student’s names and their work as you go down the page. Alternatively, you don’t have to use the layout boxes, but you could just click on ‘Images’ and ‘Upload’ and upload lots of images to the page.

This will look like the image below. You can drag and change the position of your student’s work really easily. Note, there is also a ‘undo’ button on the top of the page.

You may want to add more pages to your google site. Perhaps a page for each class? Click on the ‘Pages’ tab and name your page.

Your page names will appear across the top of every page. If you choose to upload by class, you’ll have to consider what you feature on the home page.

Once you’ve uploaded all your students work and are happy with the layout of your site, you simply click the ‘Publish’ button. You have the choice then of adding a word in the box, such as ‘sunnydaleartexhib’. You then click publish. Once published you can click on the link symbol at the top of the page so you can share the link with whoever you please.
Alternatively, you can click on ‘Custom URL’ and enter the URL your school has given you.

I hope you’ve found these instructions easy to understand. Good luck in creating your online art exhibition.


I find the article interesting. I want to create my exhibition on line using google URL. How should I go about it ?
Hi Madhu, If you want to publish a website to a URL, you first need to purchase a URL. Then, you need to make a site on a platform like Google Site, Wix or WordPress and then publish it to your URL. Each platform will have it’s own instructions on how to do this. You may feel you can do this yourself, or you may need to get an expert to help you.
Hi I have just finished my virtual gallery, am going to publish it to the web your information was great. Can I just ask I need to send an e mail to my Principal before sending it to the school URL can I do this.
Thanks Vanessa Abdeen
Hi Vanessa,
You can only send a URL when it’s published. You could either give your principal your login details or publish and send the link and tell her/him that you can make any changes that he/she wishes.
Hi Sarah – do you know what size the banner should be? The linkd in banner you recommended doesn’t fit when viewed on a mobile device, only on a computer screen
Google claim there is no correct size as it will depend on the device being used. You can read more here: https://support.google.com/sites/thread/44658047?hl=en
Hi Sarah,
I am in the process of making mine now with a page for each grade I teach. On the banner for each page I want to create a composite image with pieces of a couple of that grade levels art works, but I am having trouble formatting the banner. I tried in Canva and in Google drawing. Any tips to be able to format that banner ?
In Canva you can use their Linkedin Banner. Choose any design and just put your images on top. I successfully uploaded a composite image working this way. I hope that helps.
Hi, thank you for this. Can you add information about the artwork? Like an artists statement?
Hi Elizabeth, Thanks for your comment. Yes, it’s easy to add text boxes where you could add your student’s artists statement.
How much does this hold in terms of file sizes and the capacity of the number of works? Does anyone know?
On this forum at the following link it says 10,000 images per site: https://support.google.com/sites/thread/3445626?hl=en
It doesn’t mention an overall size. I can’t vouch for this forum.
Will the site actually look like a gallery exhibit? I’d like to make a virtual gallery, in which students’ photographs are displayed. I’m looking for a free, easy to work with virtual gallery site, thoughts?
No, it will look more like a website. At this moment in time I don’t know how to do what you ask. I’ll ask on one of my groups and see if anyone knows.
you can create a google slides presentation and there are a ton of free sites that have gallery looking templates.-slidesmania has them for sure! 🙂
Great advice!
I just wanted to say thank you for this piece! I’m considering using Google Sites now for my school’s annual art exhibition after reading your post and having a play and seeing how easy it appears to be!
I’m so pleased you’ve been inspired to have a go. It is important to keep exhibiting our students work.