
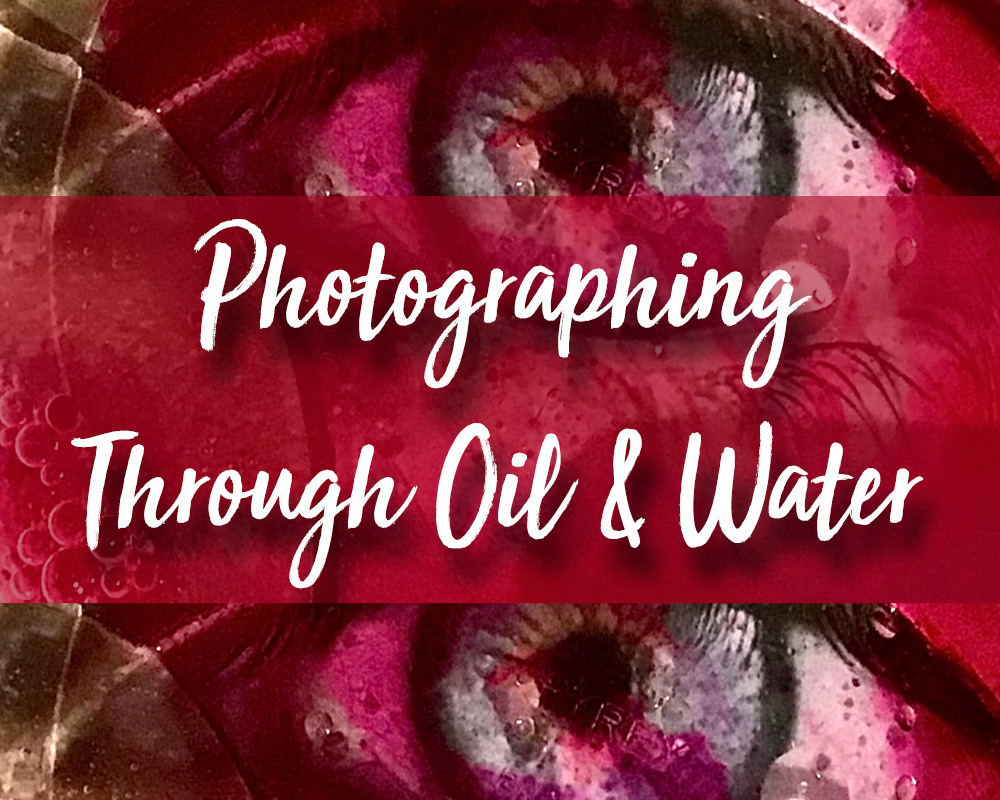
Photographing Through Oil & Water
If you are looking for a new and experimental way of exciting your students about photography, photographing through oil and water is definitely an option to consider. I learnt about this from art teacher Mark Wheatley who posted about it on Facebook. The idea is to place an existing photograph beneath a glass or pyrex shallow bowl that you fill with water and oil. Moving the water and oil leads to all sorts of interesting effects that you students can capture. Mark has kindly said that I can share the diagram that he shared on Facebook.

To run this activity you are going to need:
- Glass or pyrex bowls
- Water
- Oil
- Ink (optional)
- Books to raise the bowl
- Photos to place under the bowl
- Cameras or phones or iPads.
I had 6 shallow pyrex bowls (thank you food tech department) which dictated how many groups I could have. This meant 4 or 5 students in a group. This worked well as they could help each other and use phones to add extra light. Tip: The light from phones needs to be applied from an angle to avoid getting glaring reflections in the middle of a photo.
I also chose to add a little bit of ink into the water. Students were encouraged to photograph before they stirred the ink completely into the water. At this point the oil was in large patches.

The more students stir, the smaller the areas of oil become. Tell students to not over-stir or the oil breaks down into really tiny dots which doesn’t work so well.
I gave my students an eye image and a clock image as they had just completed a Surrealist Eye project, and I thought that the oil and water made appropriate ‘dream like’ connections to Surrealism. Of course, students could bring into their own images to link to work they are already completing.

I was so pleased with the results. These were created by students aged about 14. I thought this would also be useful for older students who were interested in Surrealism, dreams, distortion, or reflections.
Of course the colour ink you add influences how you read the picture. I think I would like to try some with sepia ink.

I have a video with more of these exciting images created by photographing through oil and water, that you can see on Youtube.
If you have any experimental photography processes that you’d like to share, please comment below.


I am so glad you shared this information. It is very helpful for me.
That’s great to hear 🙂